This content is available for SHAKS Gamehub 3.0 and later.
Various situations where macros need to be used
Macro is a feature that you can use when you need to perform several actions at once.
You can use this feature when you need to perform various actions in a short time.
How to add a Macro
1.
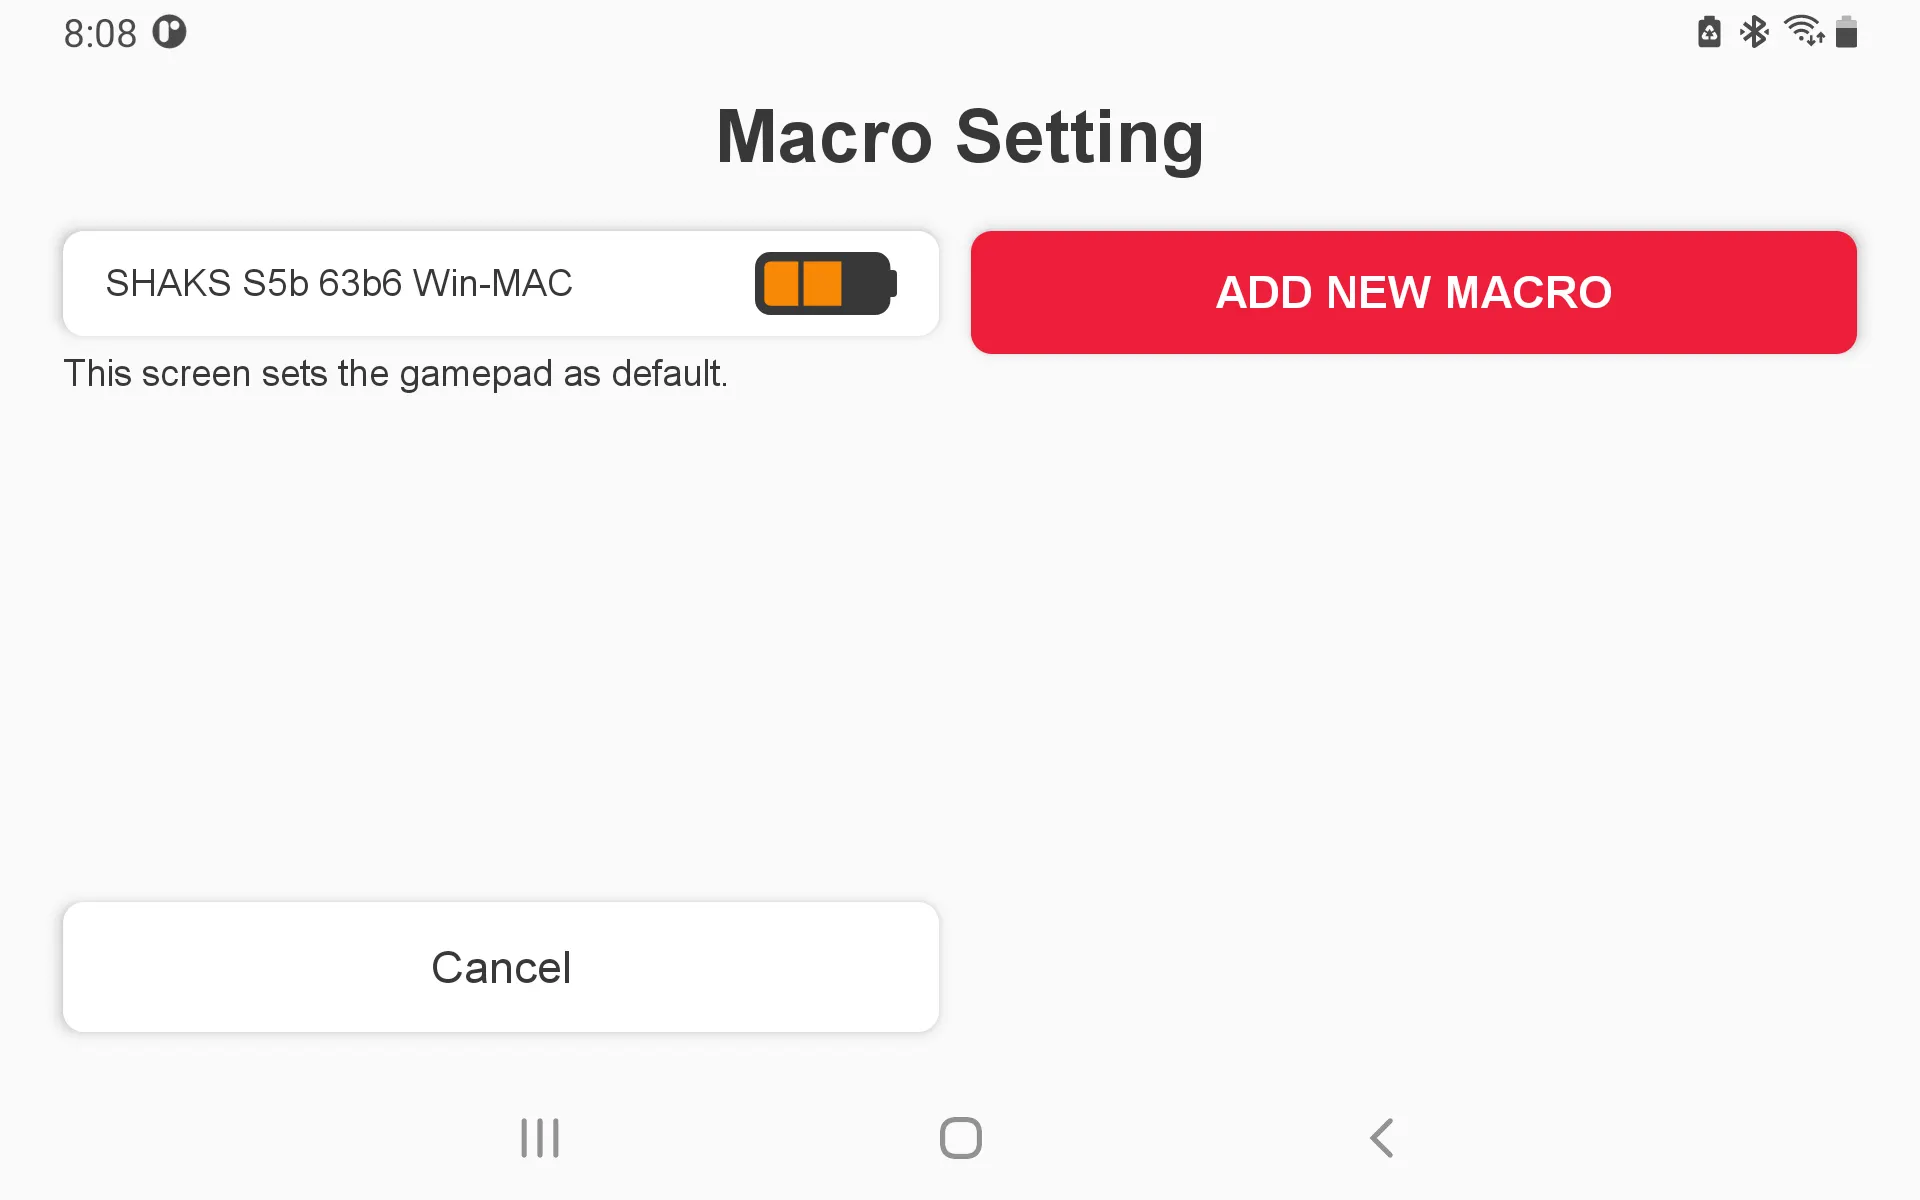
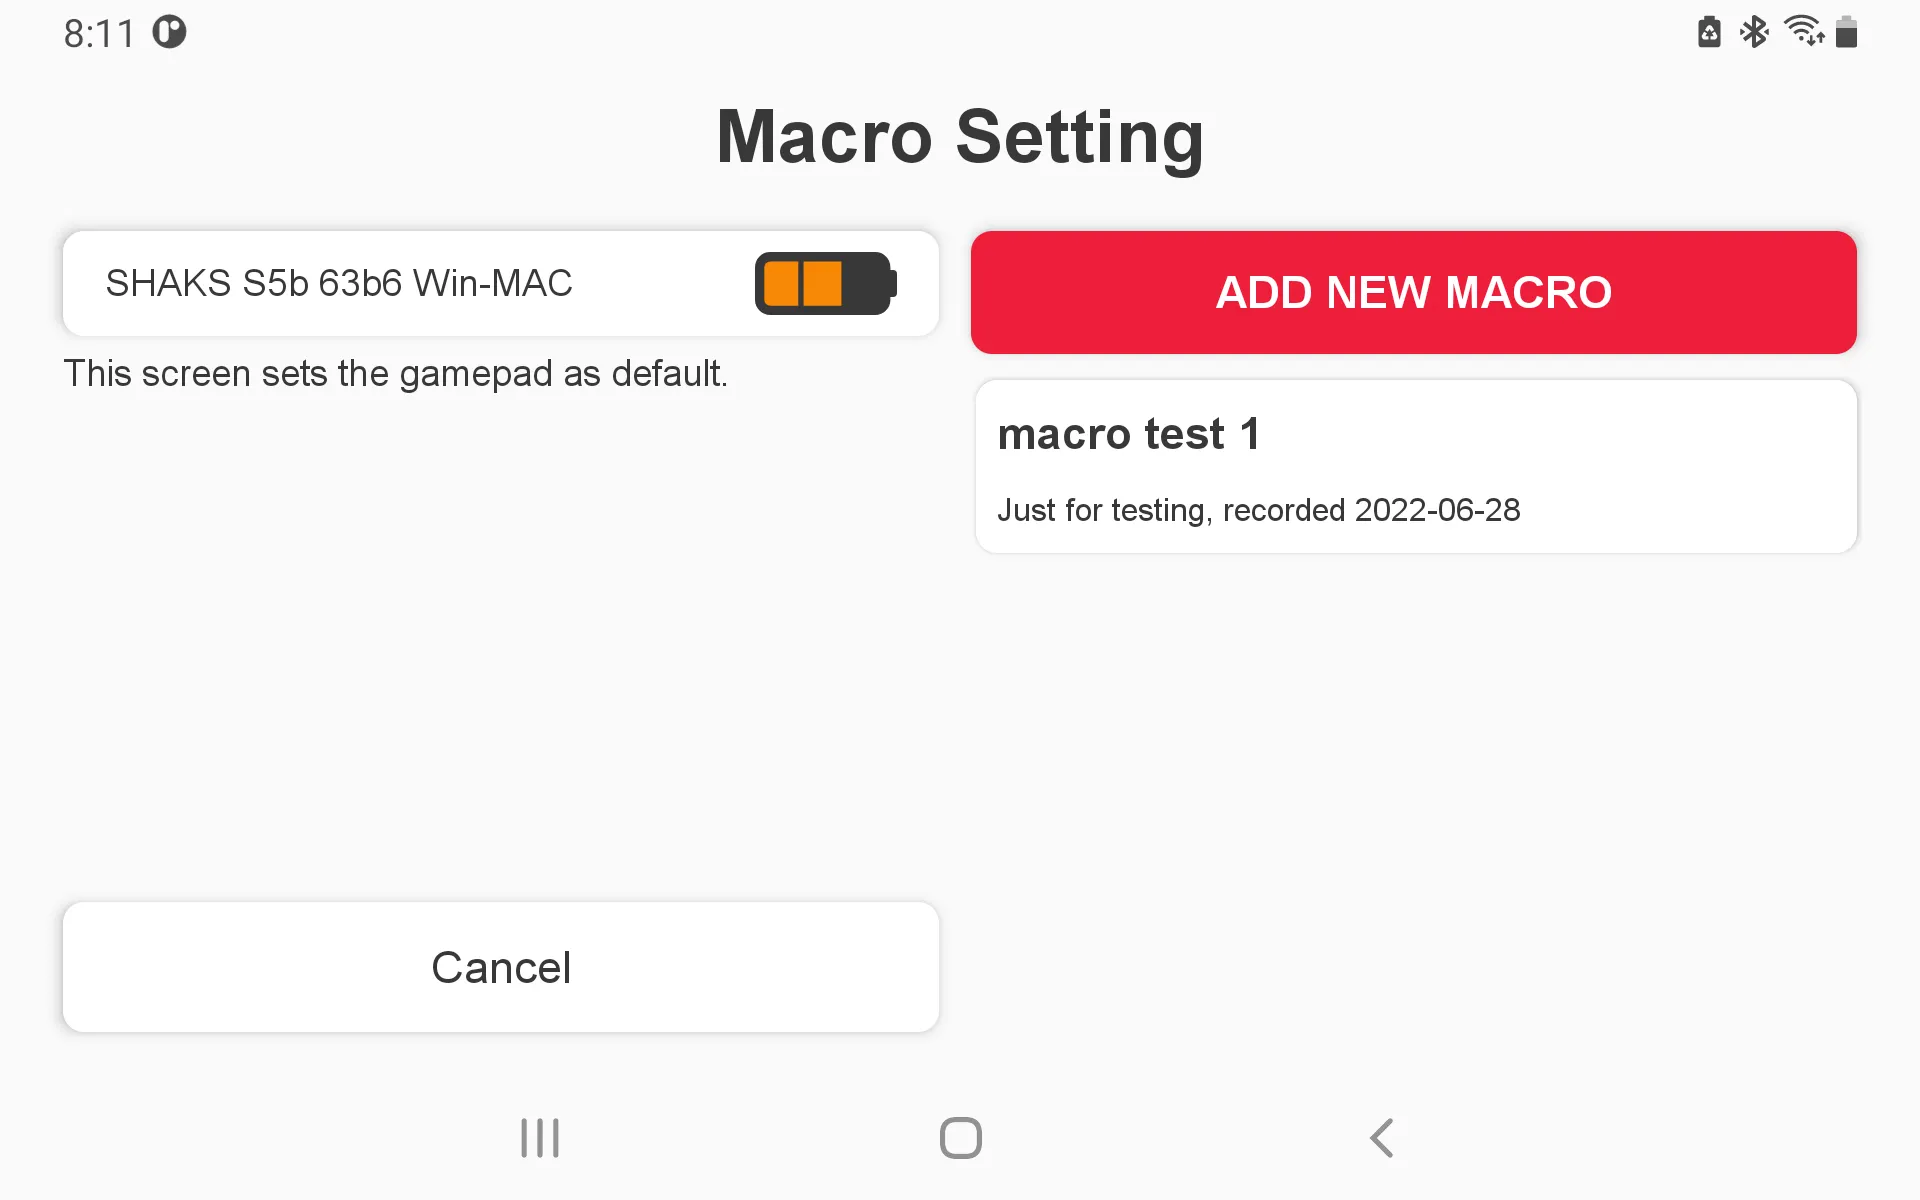
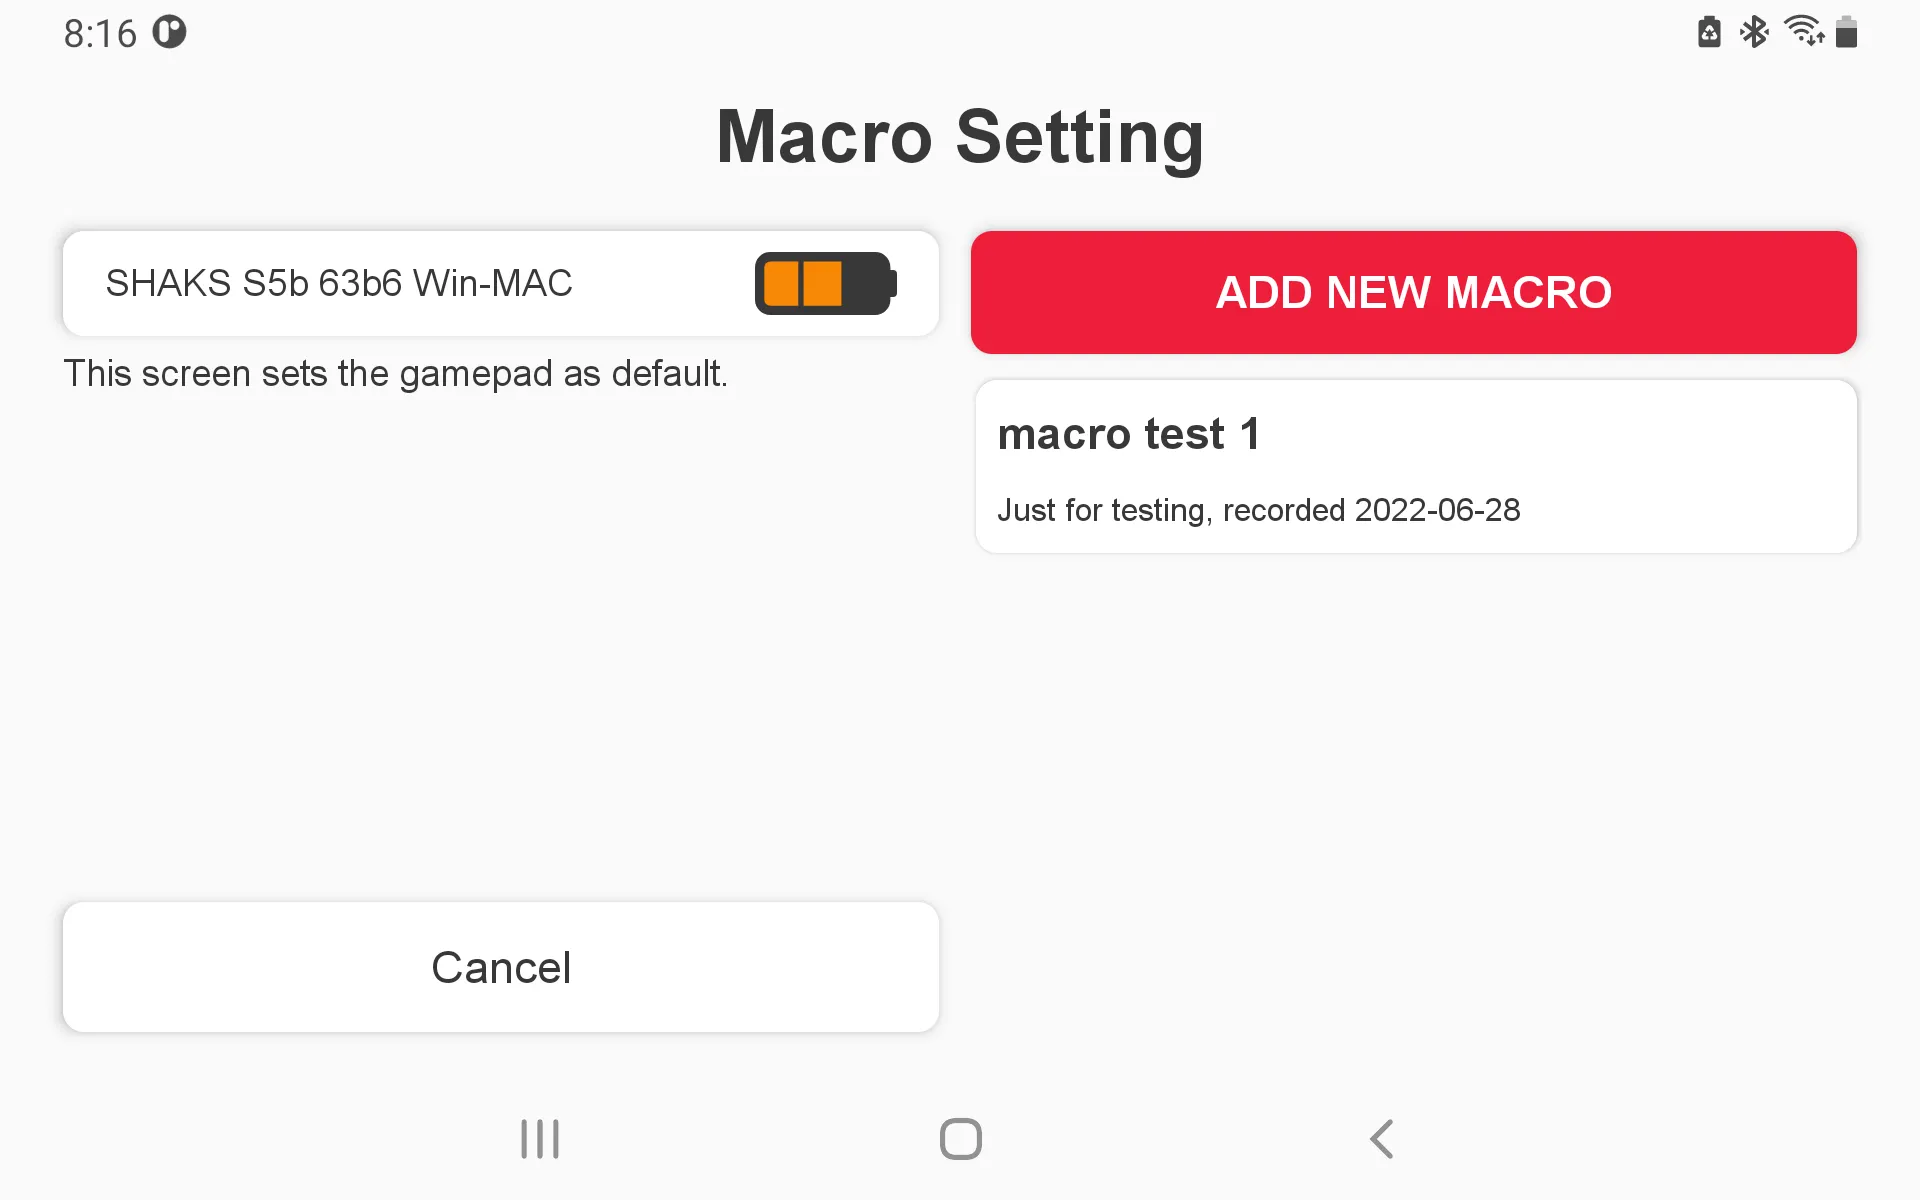
Touch “Add New Macro”
2.
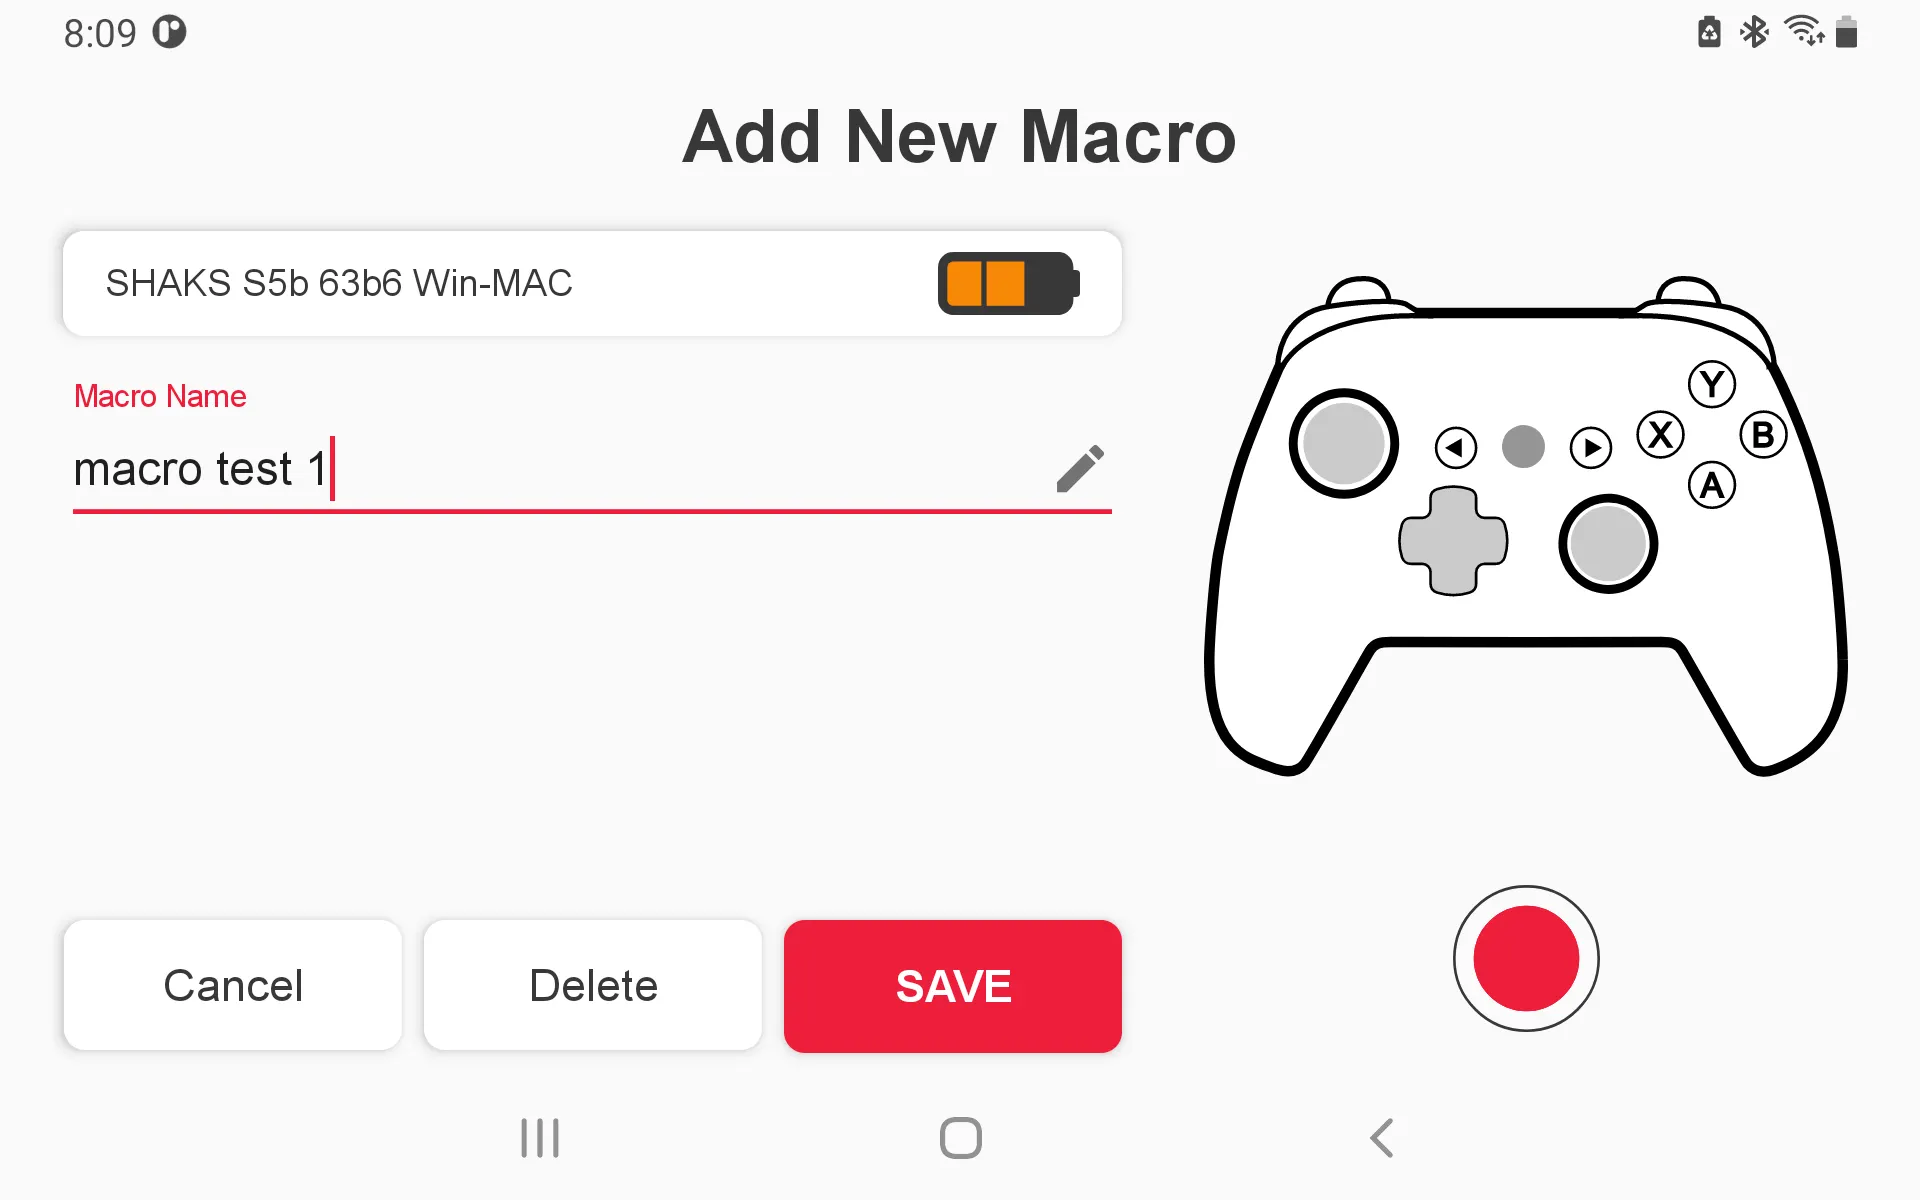
Enter a name for the macro.
3.
Press the record red button under the gamepad picture.
4.
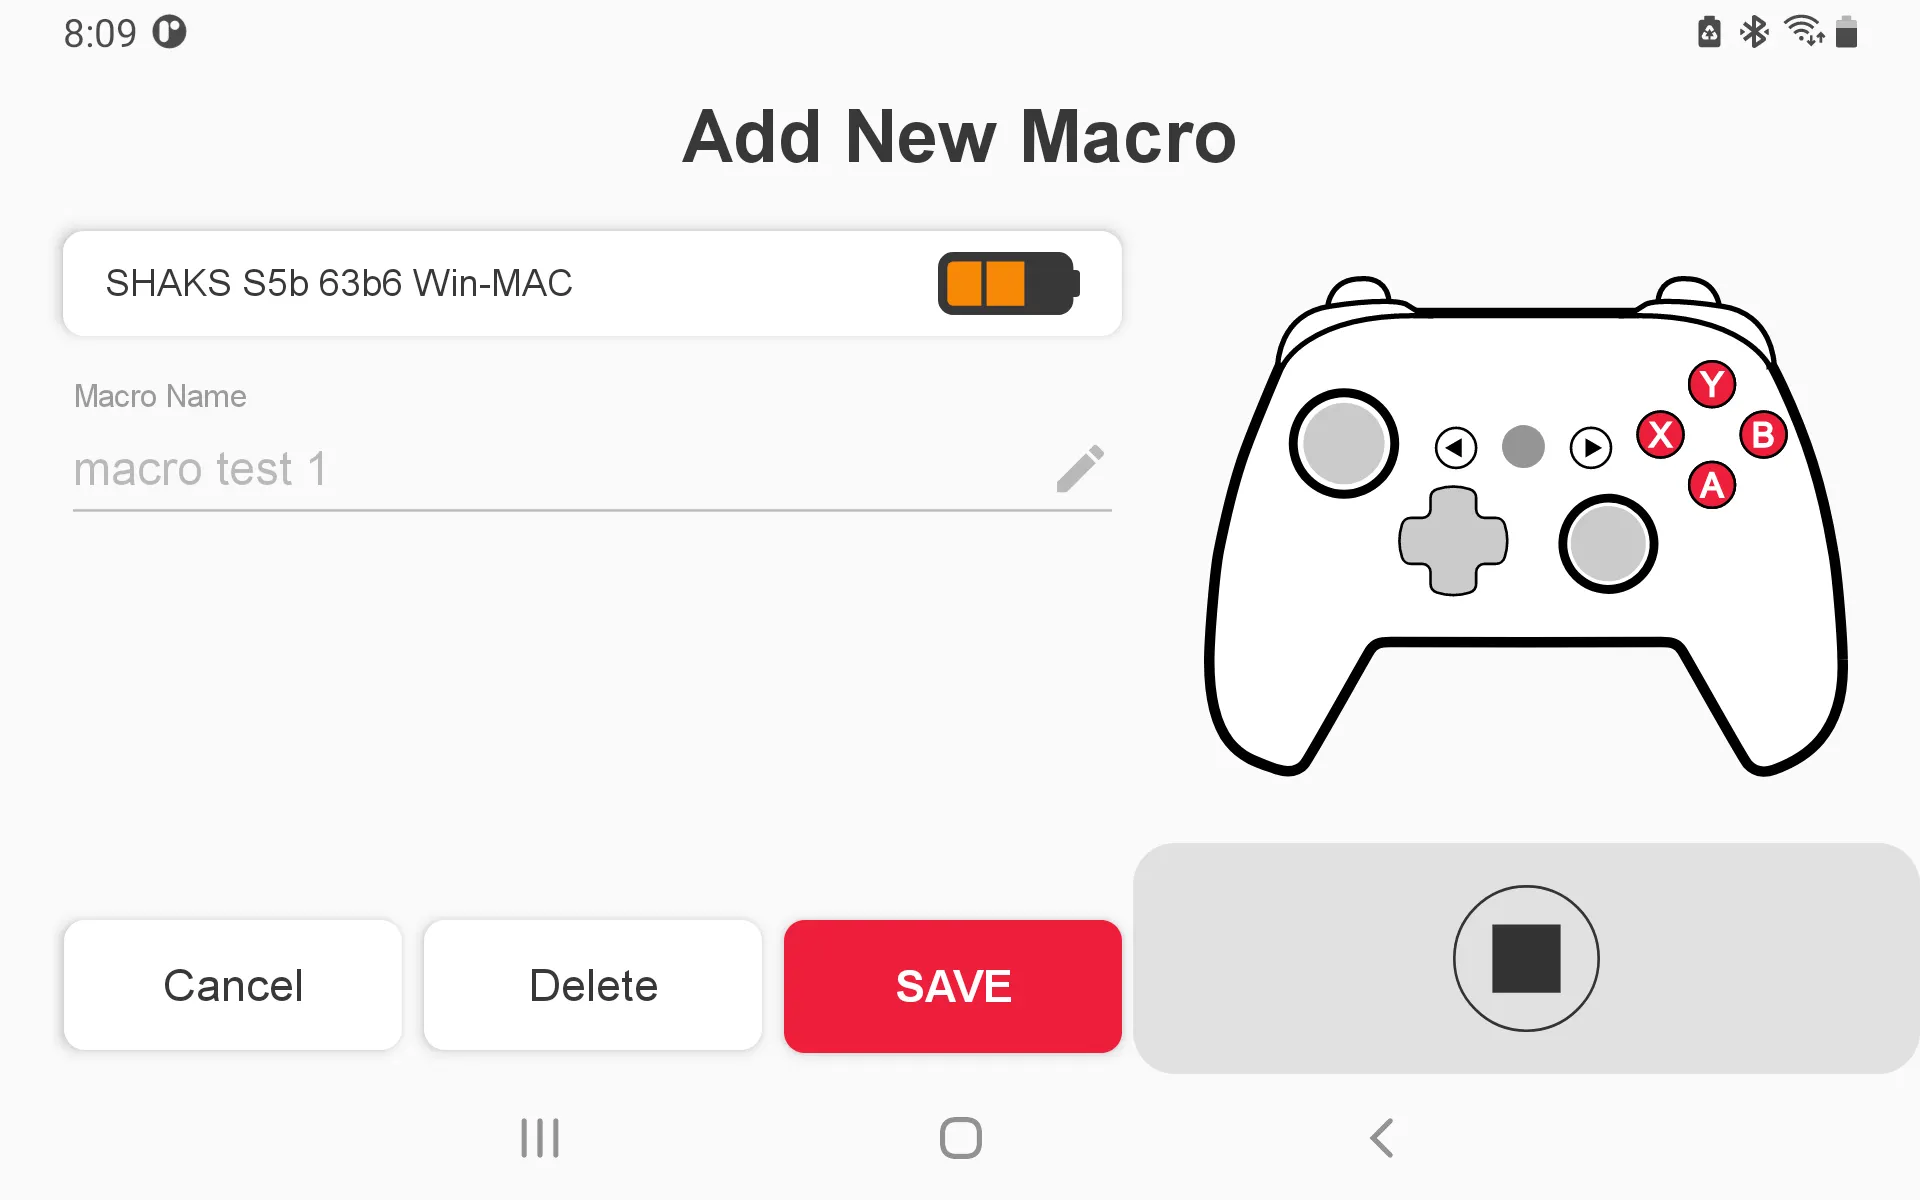
Press the Record button to record the input on the gamepad. Record from the time the first button is pressed.
5.
Make sure to press the stop button when you have finished all recordings.
6.
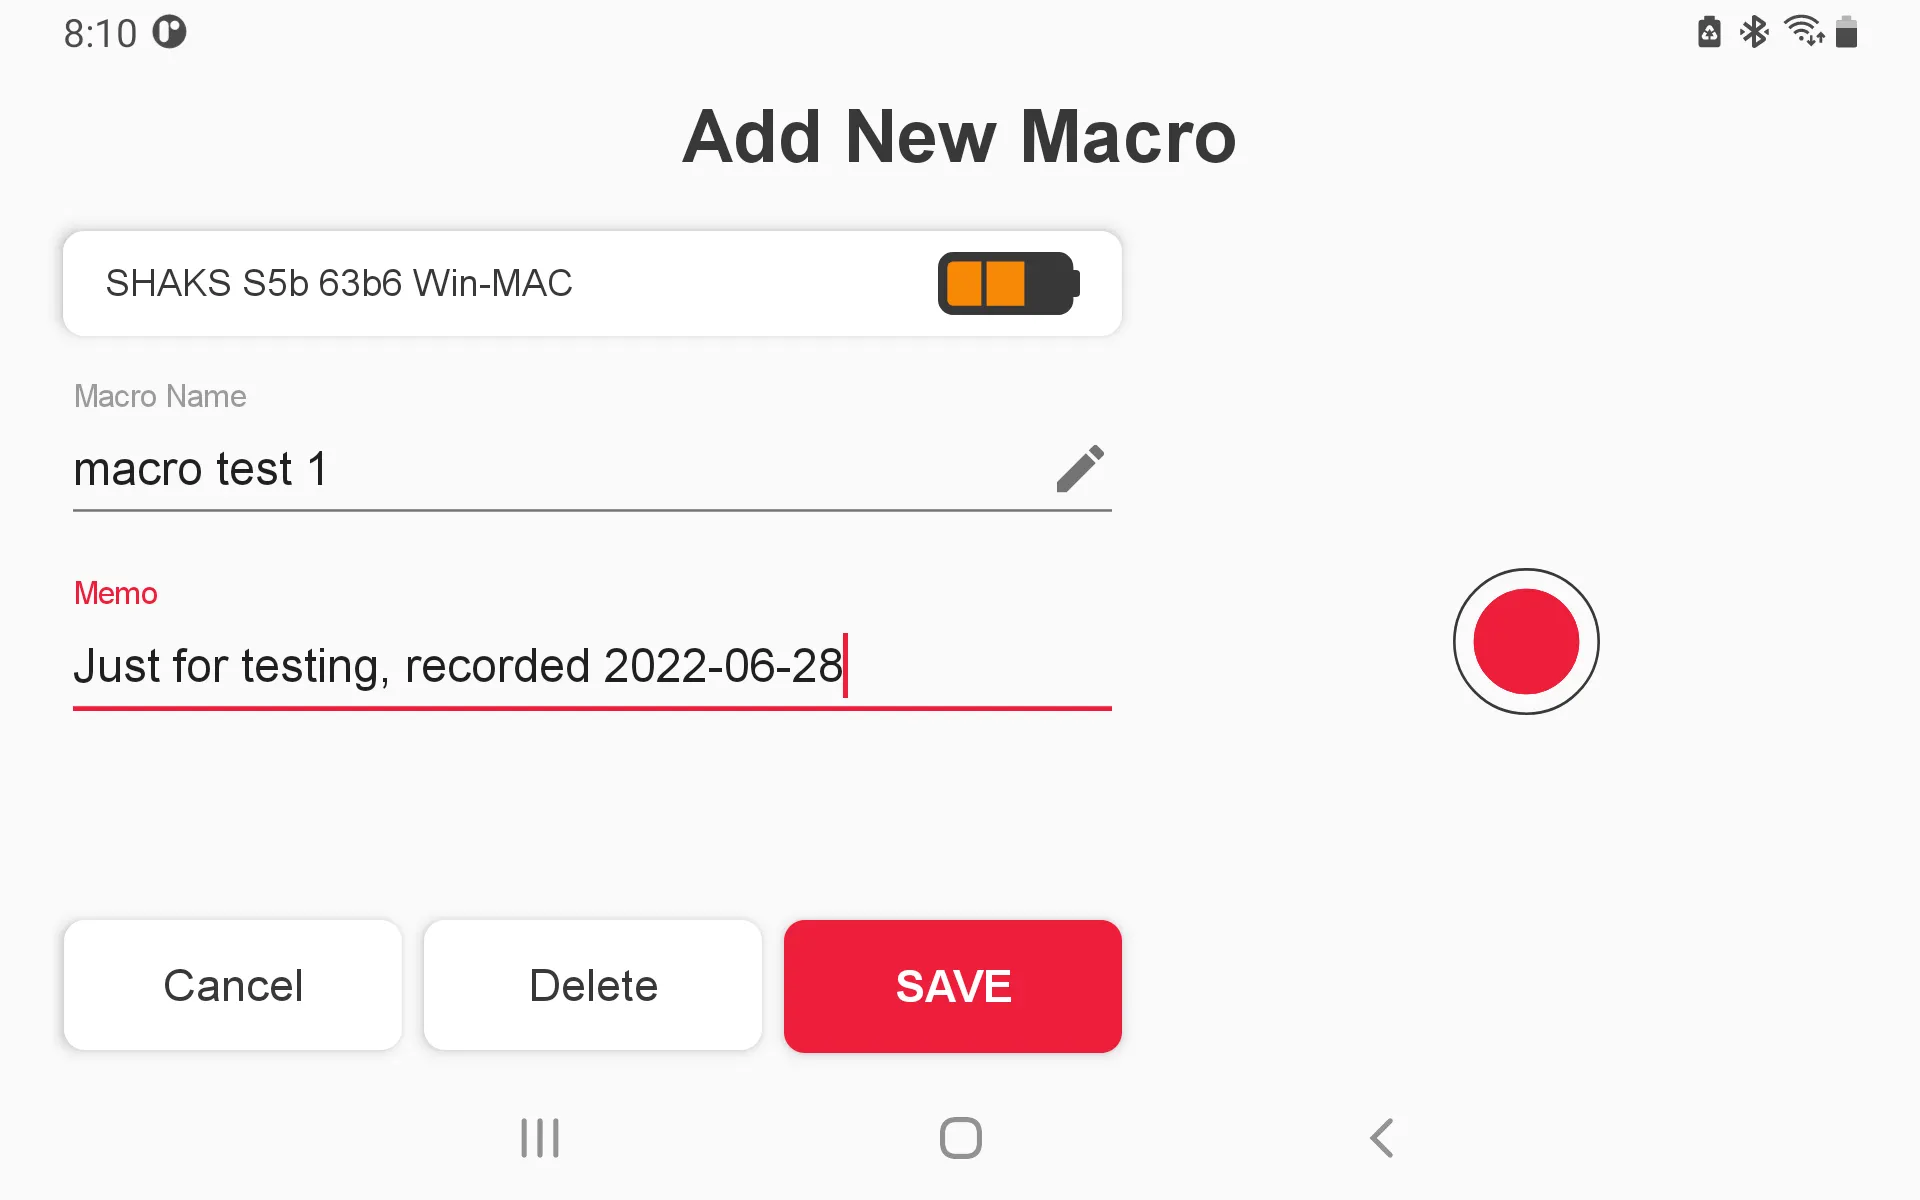
Write a description of the macro after recording.
7.
Click Save to save the macro.
8.
Press Cancel to close the window without registering the macro.
9.
Macros that you add appear in the list.
How to Apply Macros
Apply immediately to the gamepad
1.
Make sure the game pad is turned on.
2.
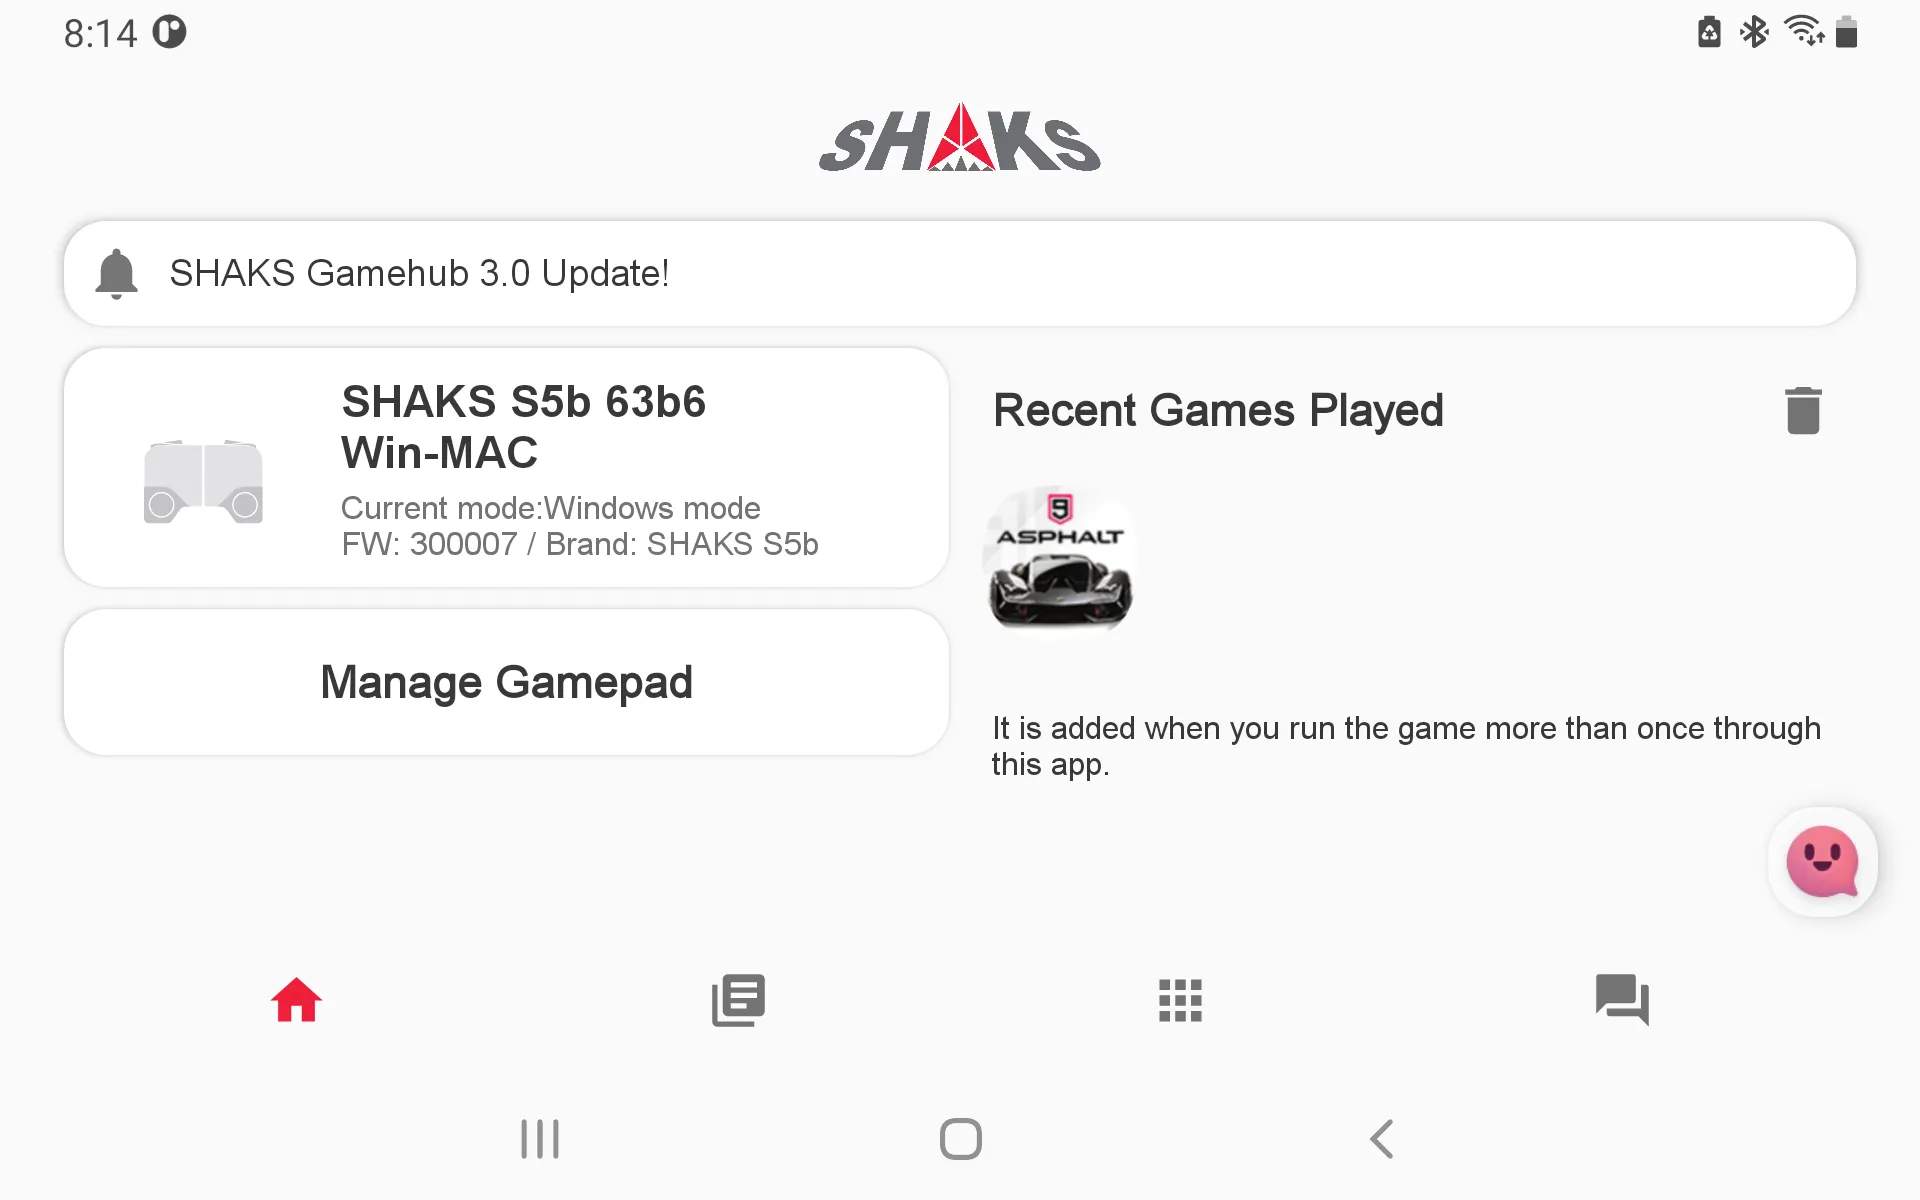
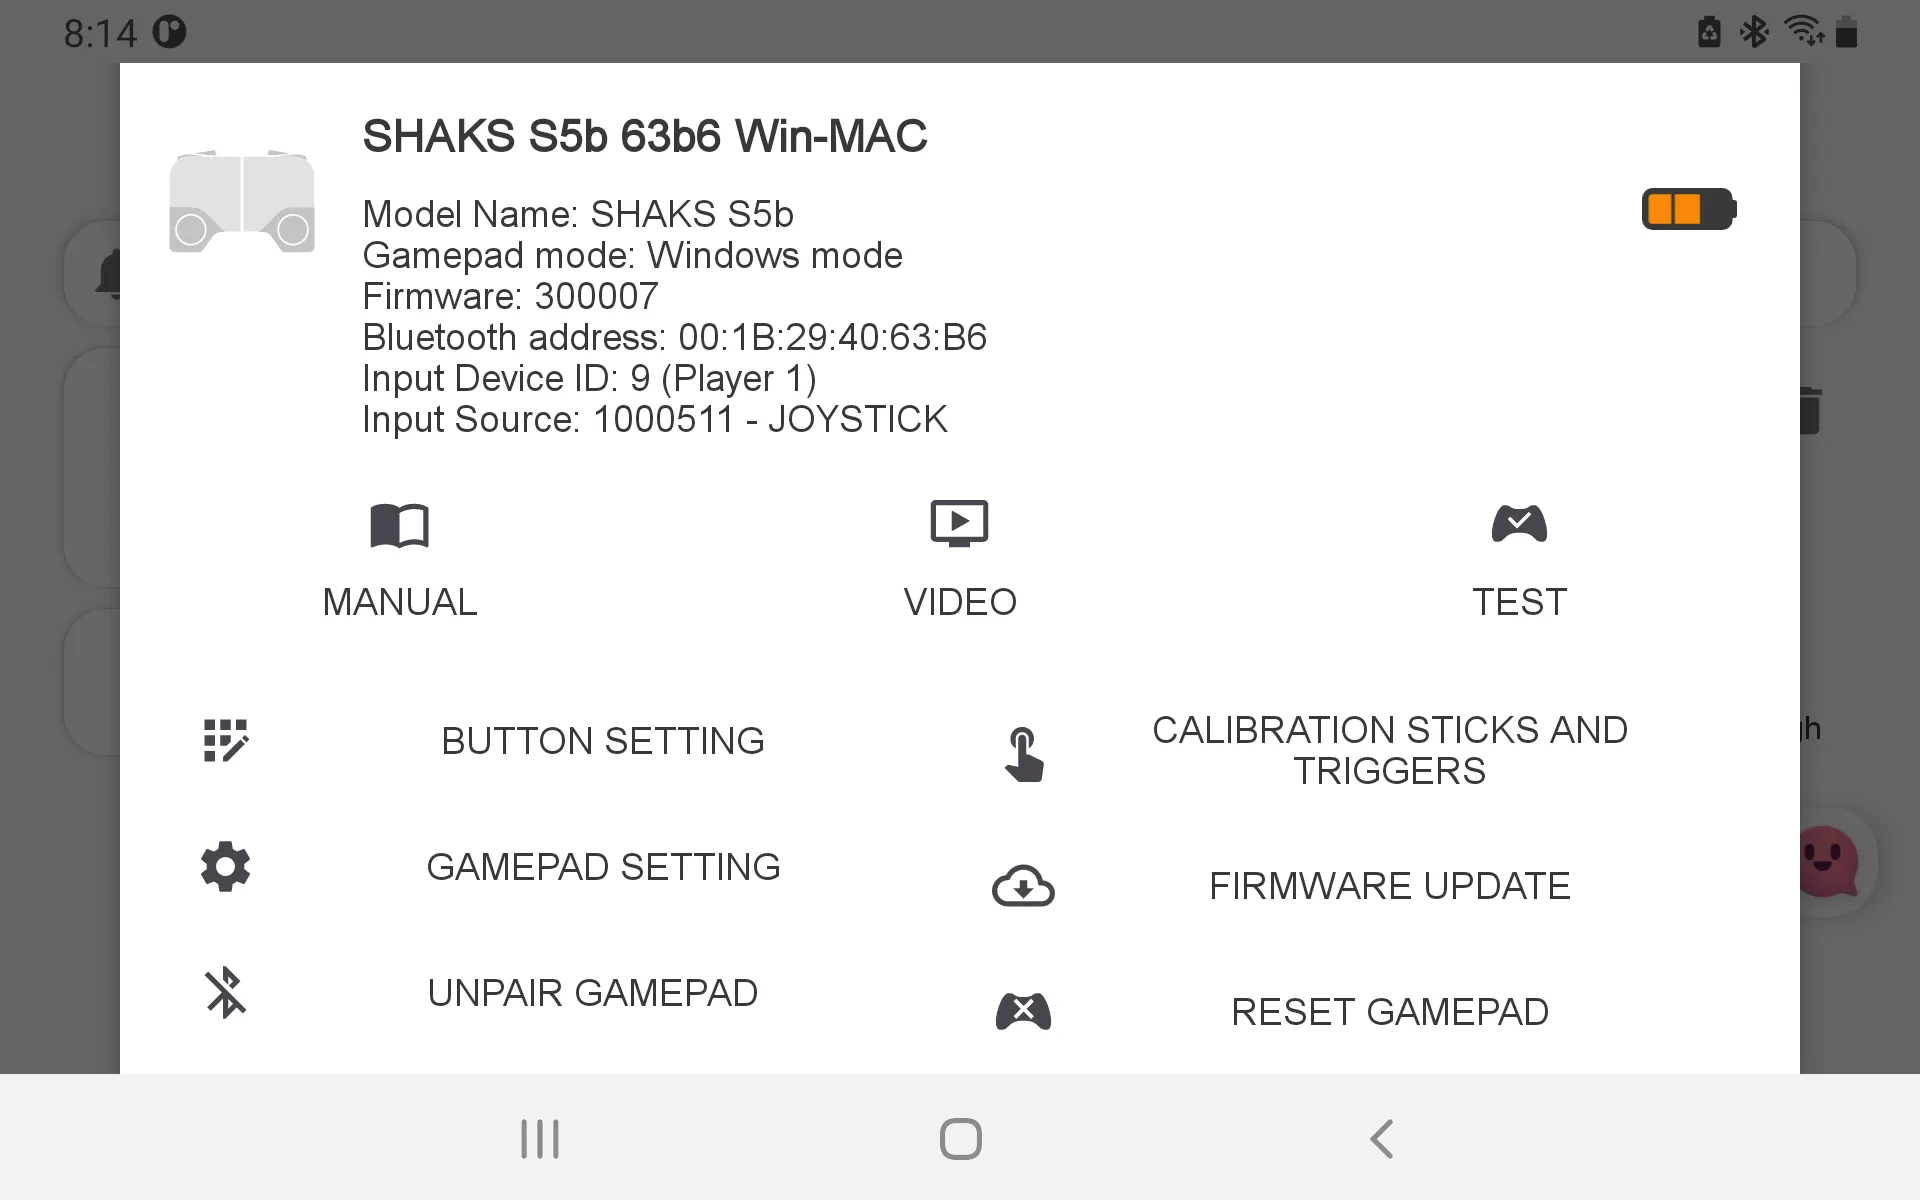
On the Application Home screen, select GamePad.
3.
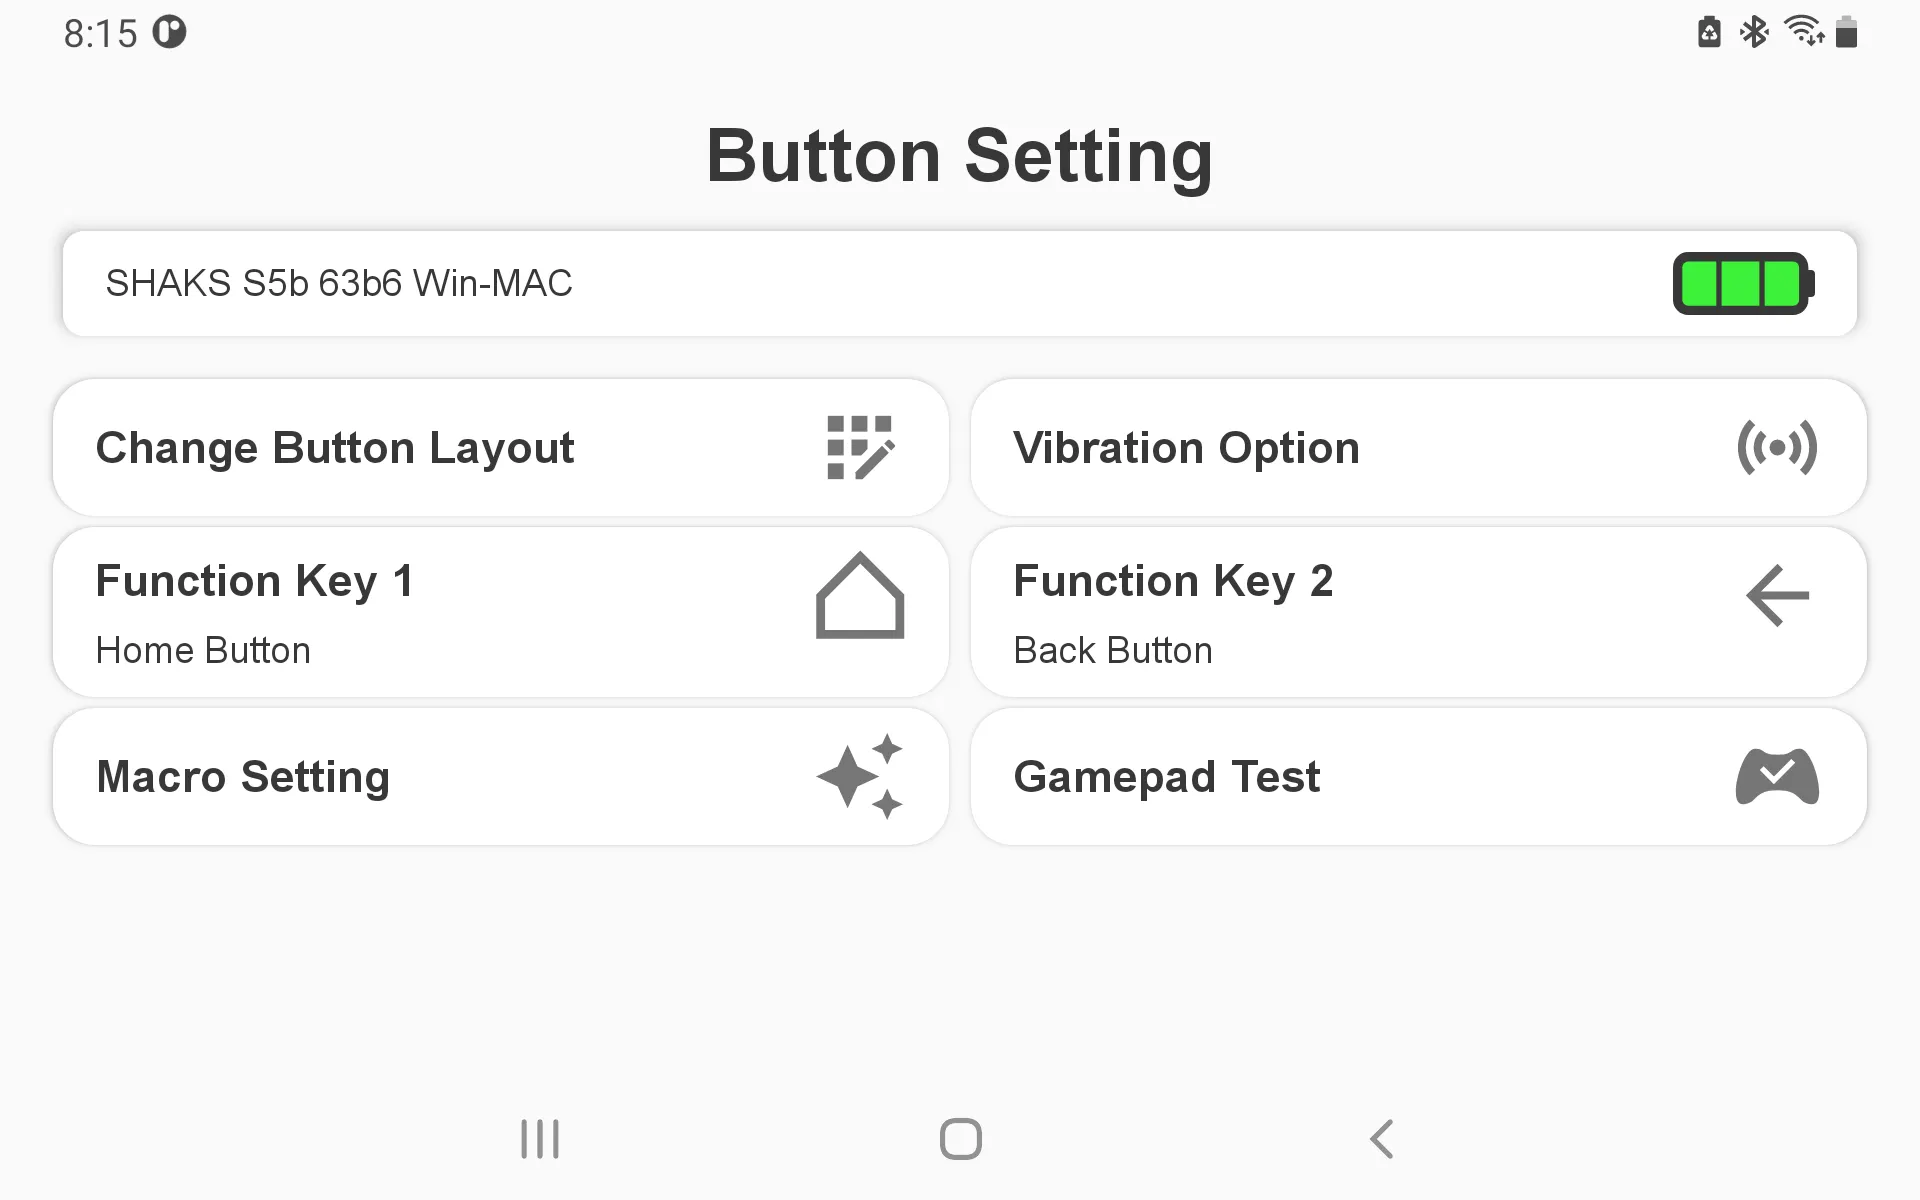
On the Gamepad Settings screen, press Button Settings.
4.
Press Change Button Layout.
5.
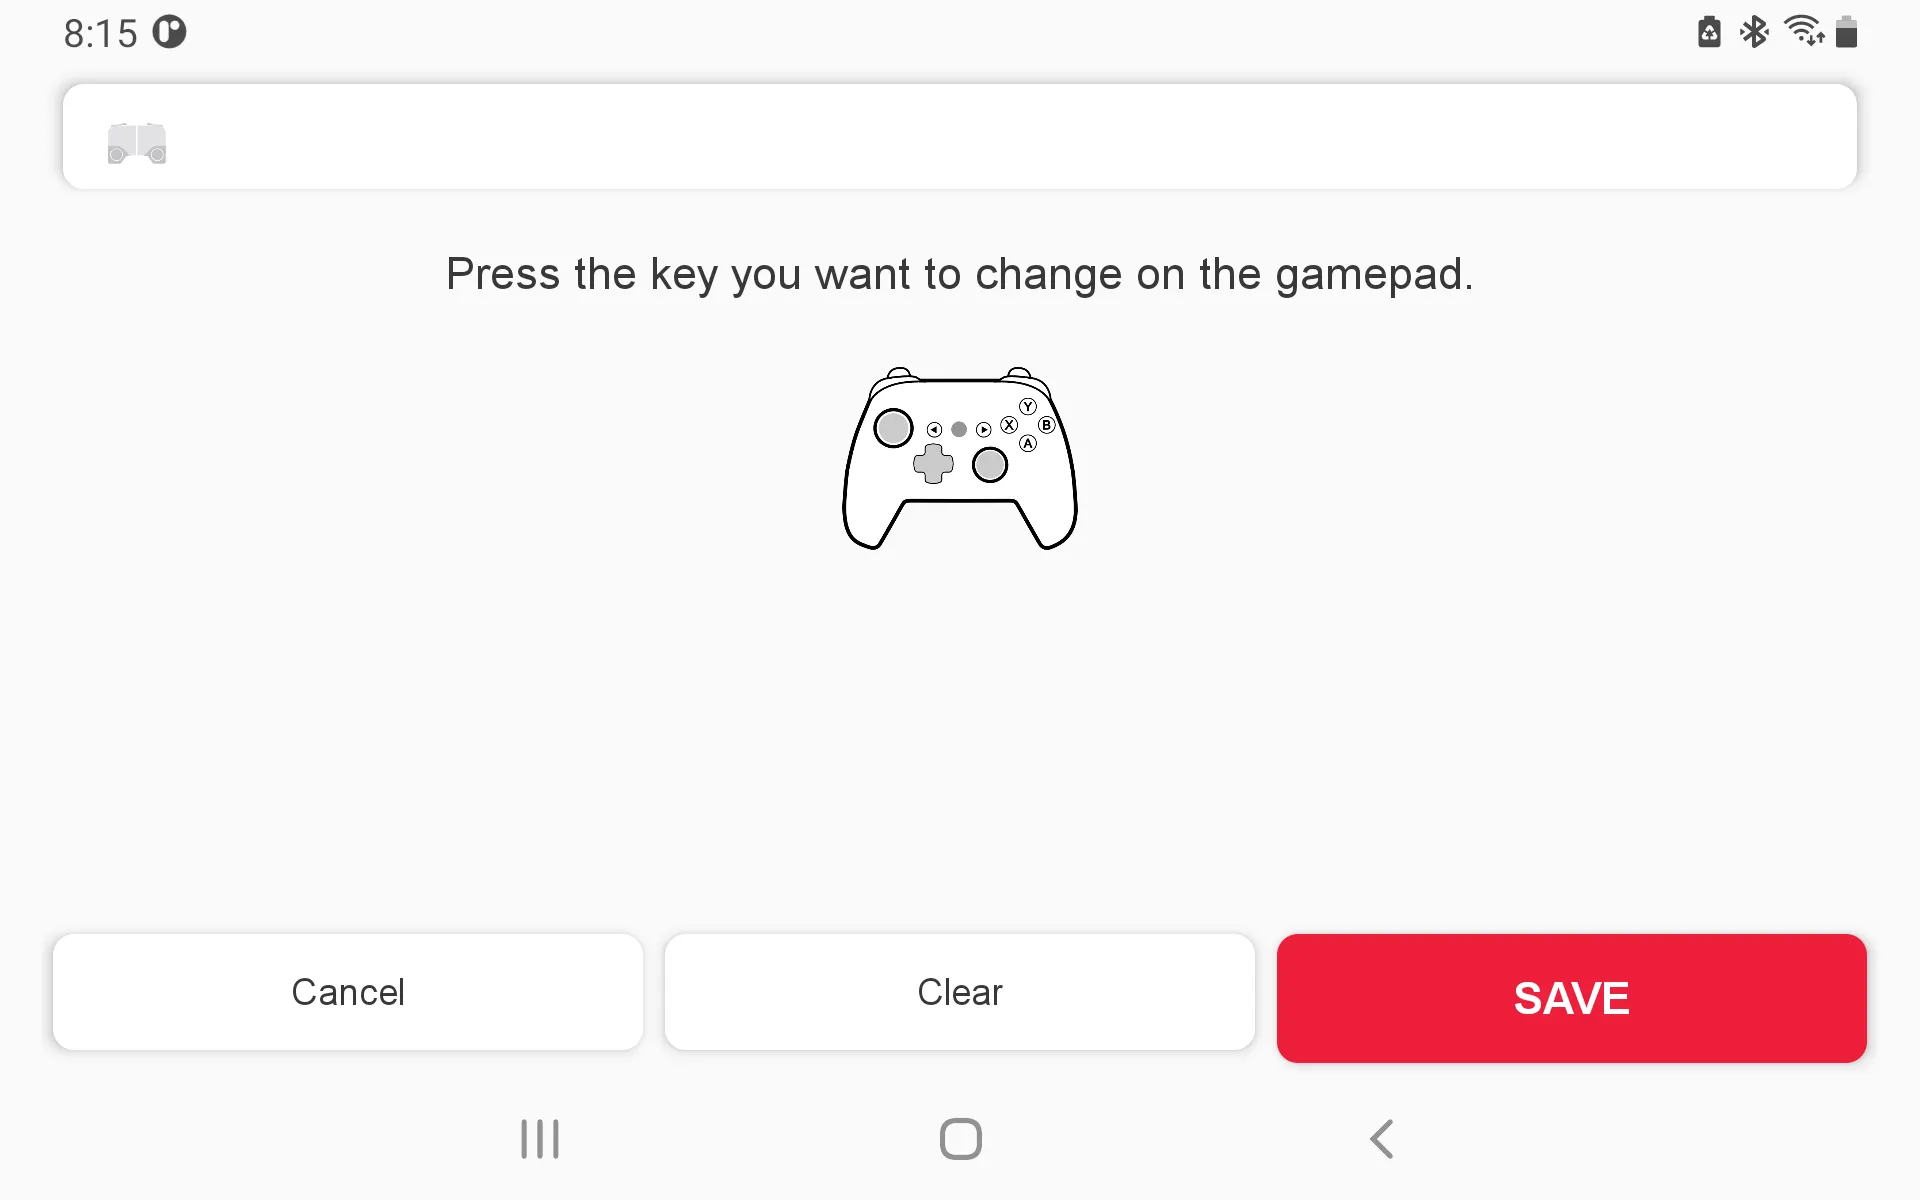
Press the button to register with the macro on the gamepad.
6.
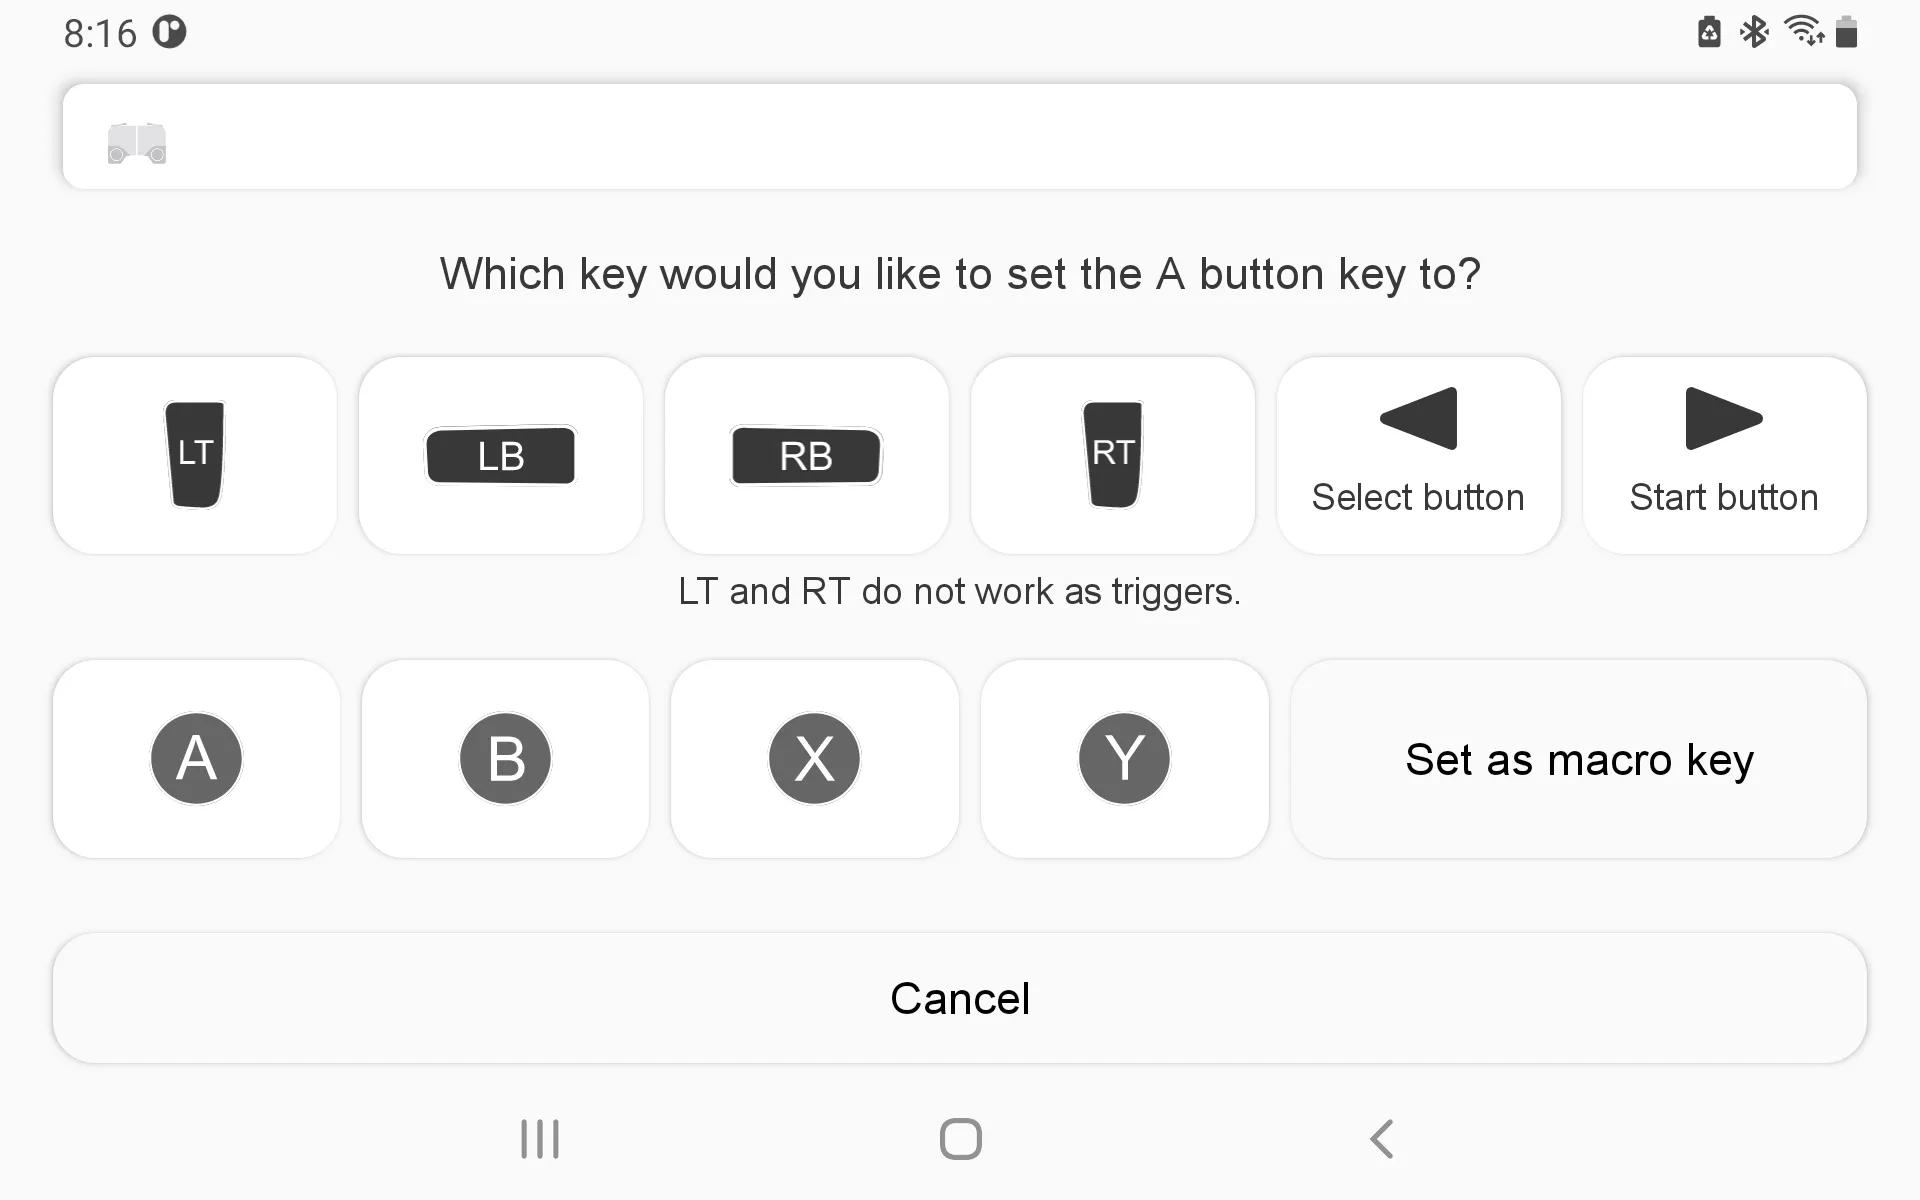
Press Set as macro key button.
7.
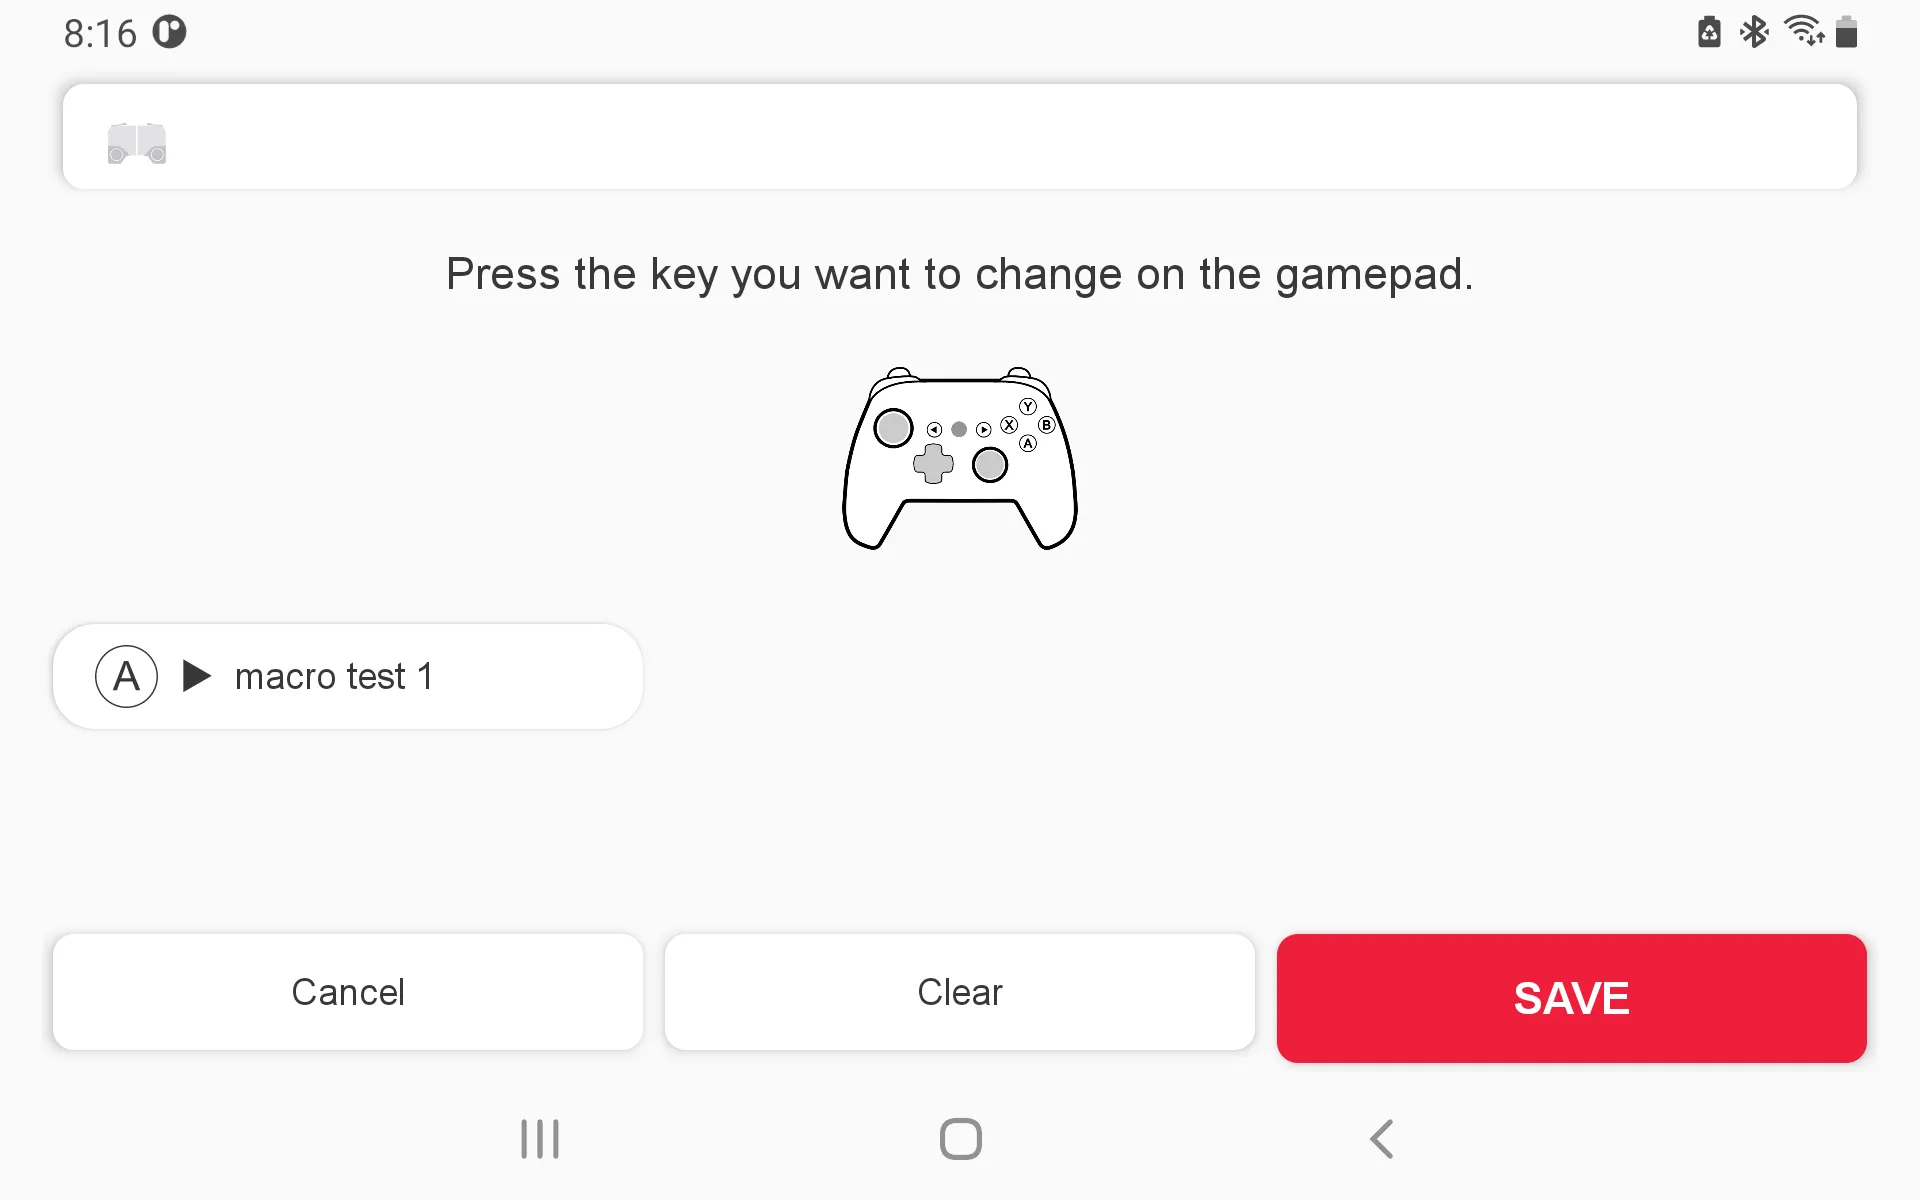
Select your recorded macro.
8.
Press Save.
The macro button is not enabled/disabled via the Function button
but is applied immediately with save.
Apply to Android Presets
The overall registration process is the same as registering directly on the gamepad. Instead, if you apply a macro when editing a game preset, it is saved as that preset, and you can register the macro with the button layout information when you run the game in the SHAKS GameHub app.
1.
Make sure the game pad is connected.
2.
Select the Android game.
3.
Select Edit.
4.
Click Change button placement.
5.
No. 5 through No. 8 are the same as the upper course.
Technical Characteristics of Macro Functions
1.
You can use the buttons below to register a macro.
•
A/B/X/Y
•
L1(LB), L2(LT), R1(RB), R2(RT)
•
DPAD
•
Select, Start, L3, R3
•
Unfortunately, axis type (stick, trigger) is not available.
2.
Information is written infinitely when recording macros, but merge it into the form below and pass it to the controller.
•
All recorded inputs in units of 15 ms Determine when the button inputs change Record a total of 20 timings for up to 30 seconds from the time the first button is entered. However, the last 20th timing is automatically changed to release all buttons.
•
A combination of buttons (pressing/discharging) occurring within 15 ms is combined in one timing.
•
Because quick push and release of the same button within 15ms can ignore the input, increase the interval to 15ms to handle the action that can be pressed and released, then place it at a new timing.
•
The pressing time is maintained because the pressing or releasing situation does not change.
3.
If you continue to press the button after applying the macro, **Play the macro repeatedly until you release the button.
For example, if you need charge shots that need to be pressed and removed for a certain amount of time, record and save the amount of time you need to press and remove the charge shots. Afterwards, if the specified button is pressed, the charge shot will be repeatedly operates.
4.
The buttons used as macros are reflected along with saving.
Unable to release separately, such as Function; macro keys cannot be placed in Function keys.
5.
When activated, the macro key will operate until you have finished everything recorded. (up to 30 seconds)

